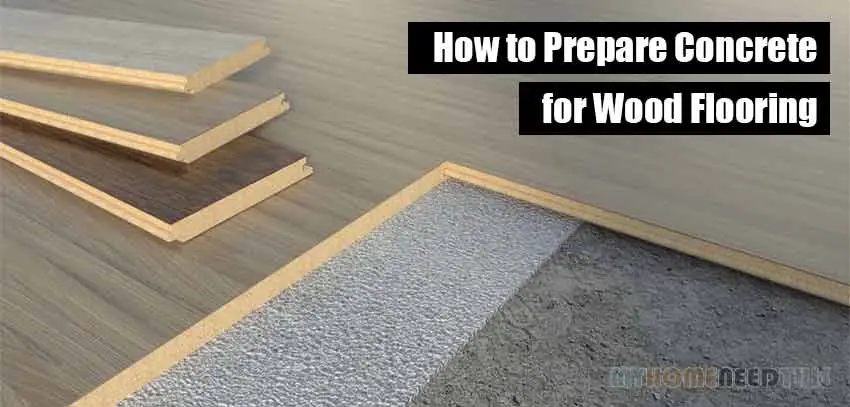
Installing materials over concrete slabs has become popular over the past years worldwide. Wood has turned out to be one of the most commonly used in this case. You can install any type of wood flooring on the concrete surface.
With the following steps of preparing concrete slab for glue-down flooring, you can avoid poor results that can potentially lead to embarrassment. We’ve pointed out every single step with the necessary tools you’d have to keep at your disposal.
Read More: Concrete Glue Reviews
Essential Tools and Materials:
- Moisture meter
- Vacuum cleaner
- Broom
- Magnesium screed
- Lumber crayon
- Measuring tapes
- Latex underlayment
- Drill
- 30-grit abrasive disc
Steps to Prep Concrete for Glue-Down Wood Flooring
Now, you just follow the right procedure. That’s to avoid poor results while doing that. As you might know that it can potentially lead to embarrassment.
Step 1: Test Moisture Content

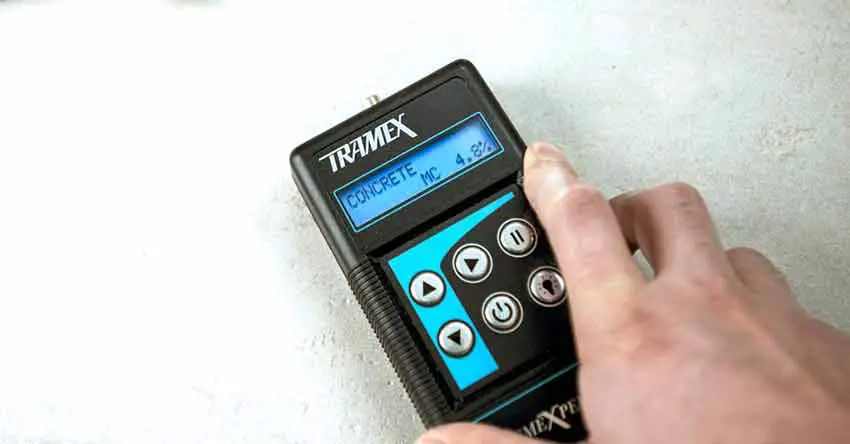
To begin with, you have to test the moisture content of the slab. You might use the moisture meter or poly film test if you have it at your disposal. The concrete slab should be less than 30 days old. Otherwise, it’ll create problems when we glue down. So, make sure the concrete slab is ready for glue-down flooring.
It’s very important if you want to avoid defect complaints. Because of that, the flooring can fail from high moisture content, as the glue will not adhere properly on the concrete surface.
Step 2: Scrape off Trouble Makers
For glue-down flooring, you must ensure the glue or adhesive sets directly on both ends. There shouldn’t be any second coatings. Hence the bond will not be strong as the glue pretends to work on concrete to the wood surface.
So now, scrape off the floor with a buffer tool. That lets you get rid of any fall-off drywall compound, paint drippings or, and any other visible substance on the slab. You might even roughen it with coarse-grit sandpaper to even out the cleaning process.
A rough surface is preferred for the glue to sit very well. And that’s important because it will help in keeping away any coats and bumps that can interfere with the bonding. After that, it’s time for you to sweep thoroughly.![]()
Step 3: Clean any Dust & Debris

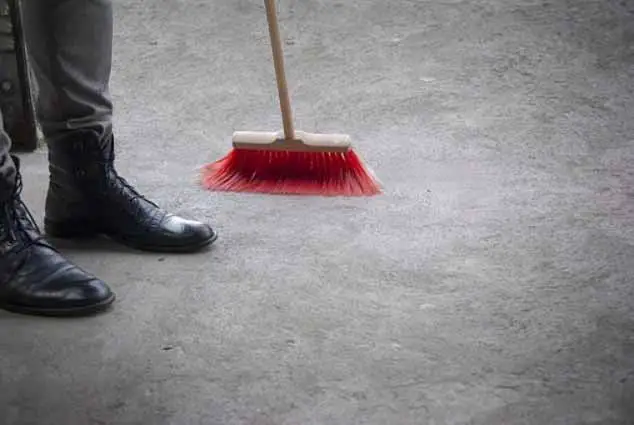
Now start sweeping first by using the broom. That way, you can remove most of the dust and ease the use of your vacuum. Ensure the floor is thoroughly cleaned. Eliminate the debris, dust, and dirt thoroughly. Make sure there’s no single-detached particle is left. Once done, head for step number 4.
Step 4: Check & Fix Surface Flatness
Before getting on to the actual work, there’s one most important task. That’s you should ensure the floor is flat enough. And that should be within the industry standards. You can confirm this using a concrete screed.
If you find any issues, it’s time to fix that!
With the help of a lumber crayon, mark the height differences. Use big sweeping marks to outline the low areas. Do not also forget to write down the measurements of how flat the area is in comparison with where it should be. That will help you in identifying the right place to pour the latex underlayment and the correct proportion. Let’s see how you can do that in the next step below.
Step 5: Pour the Underlayment
Apply latex primer then pour down the underlayment. That way, it will help in creating a stronger bond with concrete. One common mistake that most people would make is that they’ll just pour the underlayment and let it sit. Thinking of that it’ll level itself correctly.
That’s not wrong entirely, but there’s a catch!
The underlayment might have some water tension on its edge towards the dry way. That happens especially when it gets distributed in a thin coat on the less depth part. And that’ll create a curve structure if you don’t help it eliminate that. So grab something to make its movement easier towards the way. You might use a bull float concrete tool and finish up neatly.
If you do that, it’ll then seek its way and level itself as it flows like water.
Conclusion
So, that’s how you prepare the concrete surface for glue-down flooring. And we’ve used the wood flooring as a demo for you to learn the process practically. Hopefully, that suggests the best way to prepare the concrete. And you should be able to achieve a long-lasting floor installation.
Note – All our comprehensive tutorials are in-depth internet research based where we try to help you sort out the difficulties. We certainly acknowledge the validity and authenticity of the information. Subject matter experts are highly welcome for their valuable suggestions.
