What’s the secret to cleaning your shower tiles and grout without scrubbing? Well, it’s the cleaner indeed!
You should pick one that’s tough against stains but gentle on the surface. Now, some people might only think about homemade cleaners.
That’s a valid thought indeed! But store-bought items are not yet lacking behind in that sense. In fact, they’re mostly used because of their versatility and effectiveness. And, in today’s tutorial on cleaning shower tiles and grout, we’ll be talking about store brought items.
Read More: Best Shower Caulk Reviews
Necessary Equipment’s:
- Face mask, eye & hand protection
- Shower tile cleaner
- Rags/ towel
- Bucket
- Water for the final clean up
Steps of Cleaning Shower Tiles and Grout Without Scrubbing
If you’re dealing with mildew or mold, you’ll find an alkaline cleaner most useful. It gets rid of these problems very effectively. On the other hand, chlorine-bleach products are arguably the most powerful substance you can use to clean dirty tiles. But they are quite harsh.
If you’re dealing with very resilient stains, you might want to try bleach, especially the oxygen bleach. It’s not a product we’d advise you to use often. Depending on the specific bleach you’re using, the cleaning process might vary a bit.
Step 1: Ensure Safety First
Store-bought items are harsher and can be harmful to the skin. So, make sure you wear some protective gear. Especially, a pair of hand gloves to protect your hands at least. Also, try to wear eyeglasses and a face-mask.
It’s a good practice to start cleaning with the mildest product first. Otherwise, if you try to use a heavy-duty product at first hand, you might end up with a damaged surface. So, it’s a wise decision to start with that. After that, you might make use of heavy-duty cleaners if needed. But of course, if you have the experience, you might start with harsher chemicals.![]()
Step 2: Ensure Well Ventilation

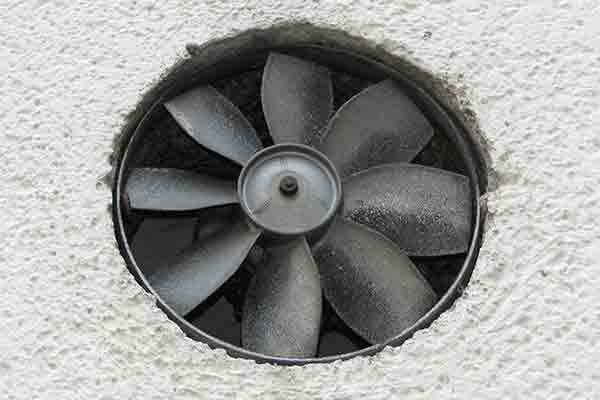
This is one of the most important precautions when using store-bought cleaners. That’s to ensure well ventilation around the workplace. It protects you and your family members in the house. Open the windows and doors and turn on the exhaust fan if you have any.
Step 3: Cleaning the Surface
Clean the tiles with a rag to get rid of excess water and any loose debris. Bleach works best on tiles that are already clean so that nothing is standing between it and the set-in stains. And, mask the areas you don’t intend to get in touch with the cleaner.
Step 4: Dampen the Surface a Bit
Store-bought items contain a strong base as the main ingredient. They work by dissolving the grease, soap scum, oil, or dirt deposits on the surface. If you dampen the surface a little, the cleaner is then hitting the dirt. But, if you apply it directly to the dry tile surface, the surface might get damaged in some cases.
So, we’d advise that as a good practice…
But of course, there’re many different types of cleaner you might use. And they might come with unique instructions to follow.
Step 5: Test a Small Area
Read the manufacturer’s note, so you don’t harm the surface anyway. Start by first testing on a small hidden area. That could be under the backsplash, or behind the tub area. If you see it’s going well, then prepare for the actual hit.
But, if you see etching or any other bad impact, guess the product is not safe on your tiles.
Step 6: Allow Time for an Efficient Action
Once you apply the cleaner, allow time for the cleaner to do its job. Read from the manufactures to know about its active period. We, recommend you buy a spray-type cleaner. Those are pretty much easy to spray. Then you just let it sit there on the surface.
Don’t use vinegar and bleach products at the same time. Bleach products contain harmful fumes that you don’t want lying around your home. Also, if bleach gets in touch with vinegar, together they produce harmful gas. So, be sure to only use any of those two ingredients at the same time.
We liked what this guy has done here (in the video below). We’d just add that you wash the bleach first. And that has to be done completely. If you don’t want to inhale the bleach by breathing. Guess you wouldn’t like to get in touch with it? Let’s take a look……
Step 7: Finish Up
Once the specified time has passed, wipe away the grime with a rag, or towel. Then, rinse the tiles and grout lines with plenty of water. It is important to get rid of the product completely before using the shower.
If the surface was prepared in the right direction, you should get it cleaned very easily. A successful cleaning process shouldn’t require any scrubbing at all. But, in a few cases when you see stubborn stains, you might need to scrub a little bit.
Conclusion
Store-bought cleaners are typically harsher but more effective. If you can apply them in the right manner, the surface won’t get damaged. Hopefully, our practical steps are going to help you achieve your goal successfully.
If you’ve learned any single step new, feel free to share this content with others seeking the information to learn how to clean shower tiles.
Note – All our comprehensive tutorials are in-depth internet research based where we try to help you sort out the difficulties. We certainly acknowledge the validity and authenticity of the information. Subject matter experts are highly welcome for their valuable suggestions.
