It’s important to install corner beads to protect or safeguard the exposed drywall corners from damage. Also, it will prevent problems associated with structural movement and settlement of walls. And today, you’ll learn how to install a paper-faced drywall corner bead, quick and easy. But, why use a paper-faced version?
Because we found this specific type as best for a snug fit. Moreover, it’s less fragile, compared to metal corner beads. You can install it quickly, by just applying a layer of drywall joint compound. That eliminates a whole bunch of nailing and gluing things.
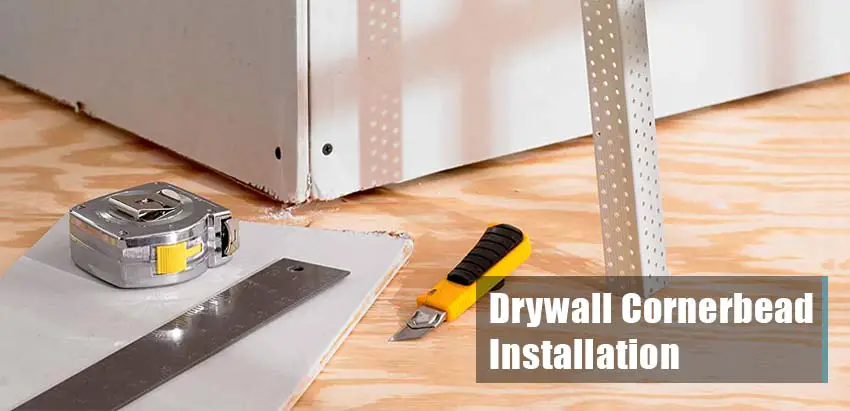
Essential Equipment List:
- Paper faced corner bead
- Marking pencil
- Tape measure
- Tin snips
- A putty knife
- Mud pan or hawk
- Joint compound
More Resources:
Installing Paper-Faced Drywall Corner Bead
Choose a corner bead with wide metal flanges inside that will cover the unseen gaps in the corner joints of the wallboard sheets. Also, Use an all-purpose joint compound and mix it pretty runny which allows more adjustment time. Thus, it will not get all marshmallows under the bead.
And, we recommend using a 4-inch putty knife over 6 inches. That will allow putting a decent amount of pressure. Therefore, you’ll get the corner bead flanges to sit flush.
STEP 1 – Surface Preparation
Before you install the corner bead, ensure that the surface is well prepared. Once the drywall is installed successfully, check whether the corners are even and ensure that there are no protrusions. Then use a dry washcloth or a damp cloth to clean the surfaces and let it dry. Make sure the surface is clean otherwise it will be hard to install the corner bead.
STEP 2 – Measure the Length
Hold the corner bead in place, where you’re about to install. Measure the length and put a pencil mark on where to cut.
STEP 3 – Cut the Corner Bead
Now cut it towards the corner using the tin snips. It’s important to leave about ½ inches above the floor. It will prevent cracking from any future structural movement of the drywall sheets.
But don’t worry! As you install baseboards, they will cover the bottom gaps near the floor. After cutting, you might need to bend a side that is warped due to the pressure of the snip. But if it’s not warped, then we’re good to go. At corner-bead joints, cut them flat or diagonally to avoid overlapping. Otherwise, you’ll have to mud several times to level it evenly.
STEP 4 – Apply Drywall Mud to the Corner
Use the knife and start wiping up or down. Spread a full coat of evenly distributed mud layer. It should be throughout the entire joint spot on both sides. Try to flatten the surface as much as possible. You might use a drywall compound applicator tube, which is pretty good. Just make sure you spread a little bit wider than the paper flanges.
STEP 5 – Set the Corner Bead in Place
Remember to leave the extra space (½ inches) that you kept while cutting. Then position the corner bead carefully. Make sure it’s uptight to the ceiling. Press with your fingers to set it tight in contact with the compound.
If you’re using a corner bead roller tool, you might first need to fold back the paper flanges to avoid bubbles. It will save you lots of time but you can use the taping knife to push it in place, so not mandatory. Just make sure that the corner bead is set straight and square. For better adhesion, spay little water to dampen the paper.
STEP 6 – Final round set up
It’s easier with a roller tool. But when using a knife, gently press the knife on the bead to extract the extra mud, and thus you clean up at once. Run your knife all the way along to set it perfectly without any bubbles inside.

Photo by: corner-bead.com (Modified)
STEP 7 – Troubleshooting
A perfectly-installed corner bead slightly protrudes at the corner, leaving a void for the drywall compound. After installing, use a flat drywall trowel or a knife to check that on both sides. Place it against the corner to ensure that there is a void under it.
You should be able to see light through the bead. This will allow void for the mud coat. But if you don’t see the gap, press the paper against the wall and extract any remaining compound so it produces a slight gap.
Another thing, if you see any part of the bead is lifted off, put more mud inside and then press it back again. Squeeze the extra part and when done, let it dry. Once it dries, you can apply the finishing coats. And the final coat might require sanding. You can start with 120 or above grit drywall sandpaper using a sander tool.
Follow our dust-free drywall sanding guide for better sanding results.
Conclusion
The best time to install corner beads is after hanging drywall and before taping begins. So, if you have a diameter like us go ahead and try out the above steps.
Surely you’ll make the corners beautiful!
Note – All our comprehensive tutorials are in-depth internet research based where we try to help you sort out the difficulties. We certainly acknowledge the validity and authenticity of the information. Subject matter experts are highly welcome for their valuable suggestions.